
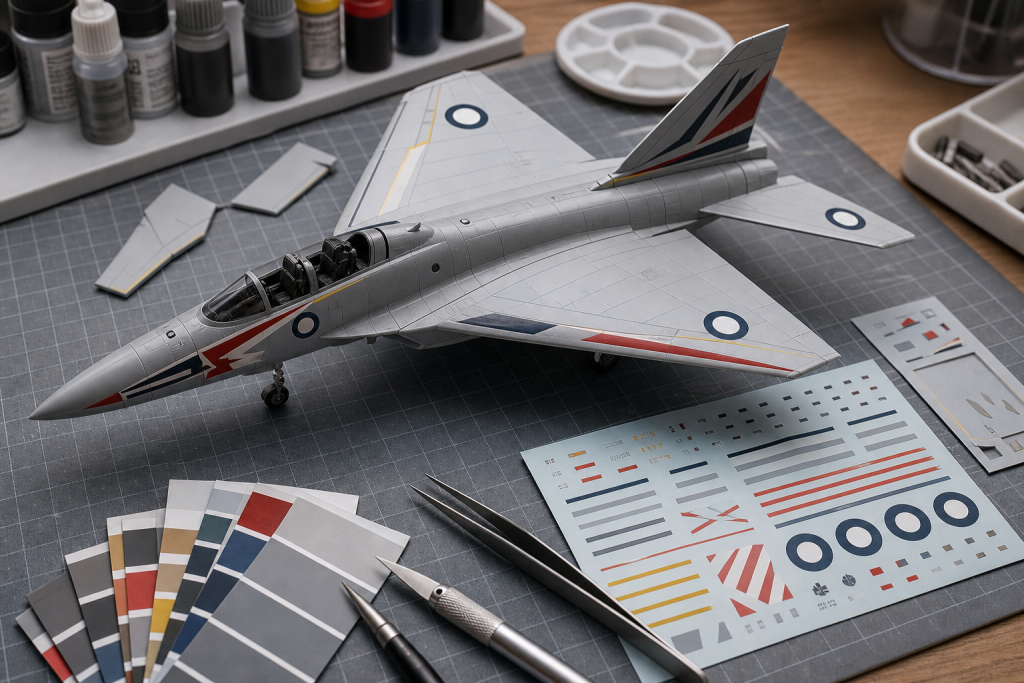
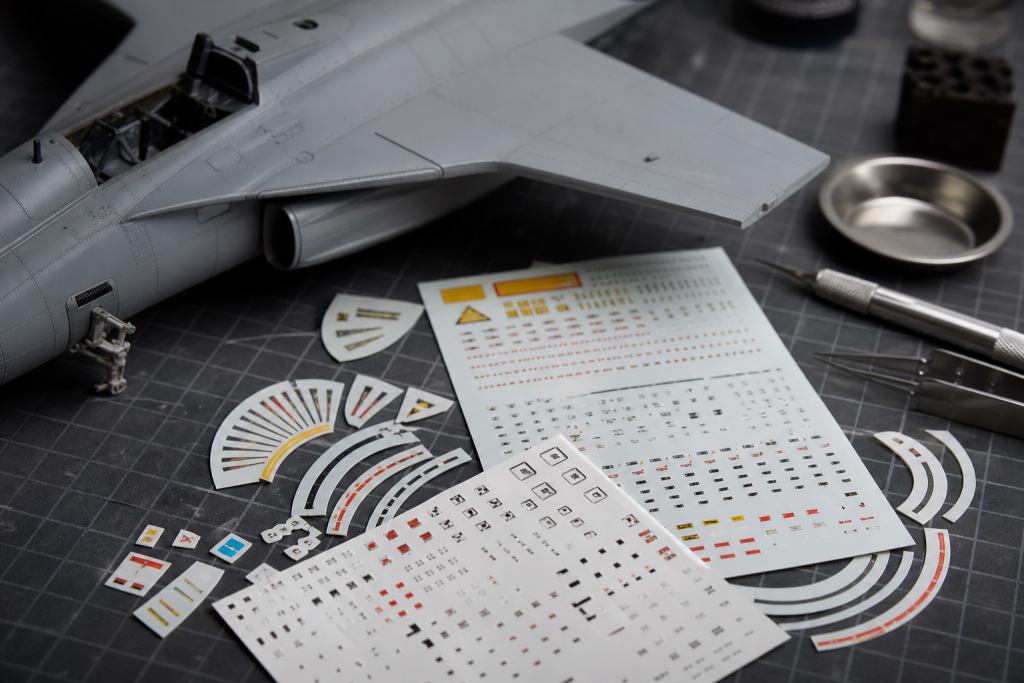
Custom model decals for scale aircraft are small-run, made-to-order markings, waterslide or dry transfer, produced when no commercial sheet covers the exact subject a builder needs. Getting them right depends on three things: choosing the format that suits the surface, supplying vector artwork with a defined white-ink layer, and specifying the correct scale. Together those choices decide whether the markings disappear into the paint or look like stickers sitting on top of it.
- Why Kit Decals Fall Short for Serious Builders
- What "Custom" Actually Means in Scale Modeling
- Waterslide Decals vs. Dry Transfer Decals: Which Is Right for Your Build
- The Types of Custom Markings Scale Builders Most Often Need
- Choosing the Right Scale: 1/72, 1/48, 1/32, and Beyond
- How to Specify Your Custom Decal Order: What Information You Need Ready
- Applying Custom Decals to Scale Aircraft: Getting a Perfect Result
- Common Mistakes That Ruin Custom Decals (and How to Avoid Them)
- Are Custom Decals Worth It vs. Aftermarket Sheets?
- Where to Order Custom Scale Model Aircraft Decals
- Scale Model Aircraft Decals: Aftermarket Brands vs. Custom Print Services
- Custom Model Airplane Decals: From RC Aircraft to Display Models
- Waterslide Decal Printing for Scale Aircraft: How the Production Process Works
- Model Aircraft Decals at 1/48 and 1/72 Scale: Resolution, Registration, and Detail
- Dry Transfer Markings for Scale Model Aircraft: The Overlooked Alternative
- Military Aircraft Models and the Case for Custom Markings
- Custom Model Decals for Scale Aircraft FAQ
- How This Article Was Created
Why Kit Decals Fall Short for Serious Builders
What "Custom" Actually Means in Scale Modeling
The word “custom” sits on a spectrum. At one end are aftermarket sheets, third-party runs from established decal houses that cover specific subjects in larger volumes. At the far end is fully custom production: a sheet printed to order from the builder’s own artwork or reference photographs, in the chosen scale and format, often as a single copy. The middle ground includes design-and-print services that translate reference material into print-ready files. Within this spectrum, format matters as much as production model. Waterslide decals release from a backing paper using water and rely on a carrier film. Dry transfer decals carry no film at all. The design is burnished directly onto the model. “Custom,” in practical terms, applies to a marking that does not exist on any production sheet and can only be produced to order.
Waterslide Decals vs. Dry Transfer Decals: Which Is Right for Your Build
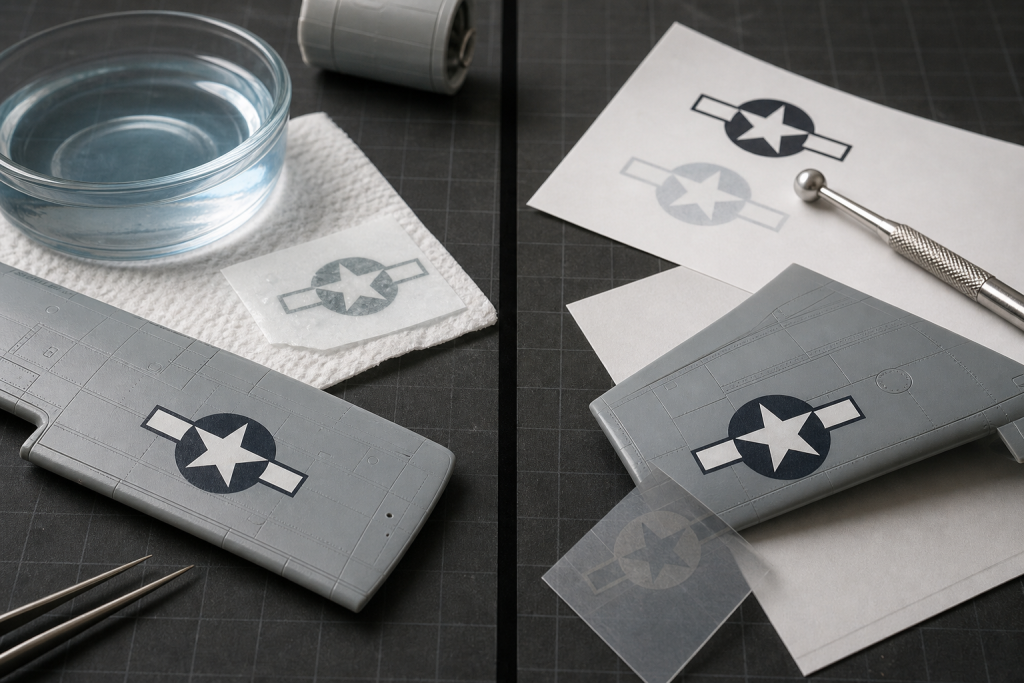
Both formats can deliver excellent results; the right choice depends on the surface and the marking.
Waterslide is the default for most aircraft builds. The decal floats off the backing paper onto a glossed surface, can be repositioned while wet, and is conformed into panel lines using a setting solution. The trade-off is the carrier film, which sits over the paint and risks silvering if the surface is not properly prepared.
Dry transfer markings deposit only pigment. There is no carrier film to silver, no water, no gloss undercoat required, and no setting solution. The trade-off is that the transfer is one-and-done: once burnished, it cannot be lifted and repositioned. For bare metal finishes, anti-glare panels, cockpit stenciling and instrument data plates, the absence of film is a meaningful visual advantage. For decals that must wrap a tight compound curve or a heavily riveted surface, waterslide’s chemical conformability is usually the easier path.
Quick decision box: which format fits your build?
| Choose waterslide if… | Choose dry transfer if… |
|---|---|
| The marking wraps a compound curve, radome, or heavily riveted surface | The surface is bare metal (NMF) and any film edge would catch light |
| You need to reposition the decal during placement | The marking is small (stencils, data plates, walk lines) and film would be conspicuous at scale |
| The artwork has gradients or photographic shading | The paint underneath is matte and you would rather not gloss-coat the area |
| You are working at 1/32 or 1/24 where a thin film is barely visible | You are decaling a cockpit interior or instrument panel |
| The supplier is set up for waterslide and you don't need film-free | The build is on a deadline that doesn't allow a 24-hour cure window |
The Types of Custom Markings Scale Builders Most Often Need
A few categories drive most custom orders:
Specific tail numbers: heritage flight replicas, personal aircraft, airshow participants, family-history builds.
Nose art: especially WWII subjects, where almost every airframe carried a one-off design.
Squadron and unit markings: short-lived units, theater-specific schemes, or air arms underserved by the mainstream market.
National insignia corrections: fixing wrong roundel shades or proportions on older kits.
Stencil data and walk lines: frequently undersized, missing, or simplified on kit sheets.
Custom liveries and logos: airliners, corporate aircraft, experimental prototypes, “what-if” schemes, sponsor and squadron logo work.
If a build falls into one of these categories and no commercial sheet covers the subject, a custom order is typically the only route to an accurate marking.
Choosing the Right Scale: 1/72, 1/48, 1/32, and Beyond
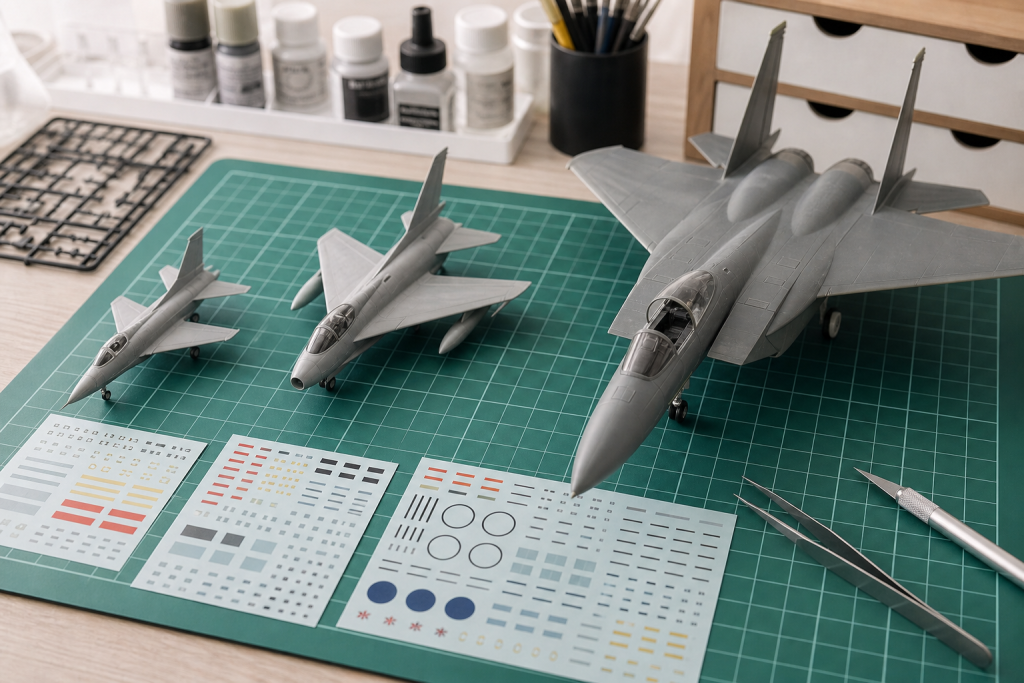
Scale dictates resolution requirements as much as it dictates size.
1/72: the most widely produced aircraft scale. Decals are small, stencil text is microscopic, and registration tolerance is tight. Fine maintenance data approaches the limits of standard digital printing.
1/48: the most common modeling sweet spot. There is enough surface for legible stencils, sharp roundels, and detailed nose art, and most aftermarket research is available here first.
1/32: large-format builds where typography, panel data and chevron-style markings are prominent. Fewer aftermarket subjects, so custom orders are common.
1/24 and larger: display- and exhibition-scale, where artwork can carry significant linework and any printing artifact becomes obvious.
Before ordering, confirm the scale against a known kit dimension. Wingspan or fuselage length measured against a published reference is the most reliable check. Specify the scale to the supplier; do not send raw measurements unless the supplier asks for them.
Scale-resolution checklist
A quick reference for what to flag to your supplier before printing. Exact thresholds vary by press, so treat these as starting points rather than fixed rules.
| Scale | What to watch for | Practical action |
|---|---|---|
| 1/144 | Stencils approach the limit of legibility | Simplify or omit micro-stencils; rely on roundels and large codes |
| 1/72 | Registration tolerance is tight; thin film matters most | Confirm the press handles spot white; consider a test sheet first |
| 1/48 | Sweet spot for typography and detail | Standard custom workflows work well; verify minimum point size for stencils |
| 1/32 | Pixelation and raster artifacts become visible | Insist on vector artwork; raster reference photos must be re-drawn |
| 1/24 and larger | Any printing artifact is obvious | Vector only; consider proofing on plain paper at full size before printing decal film |
How to Specify Your Custom Decal Order: What Information You Need Ready
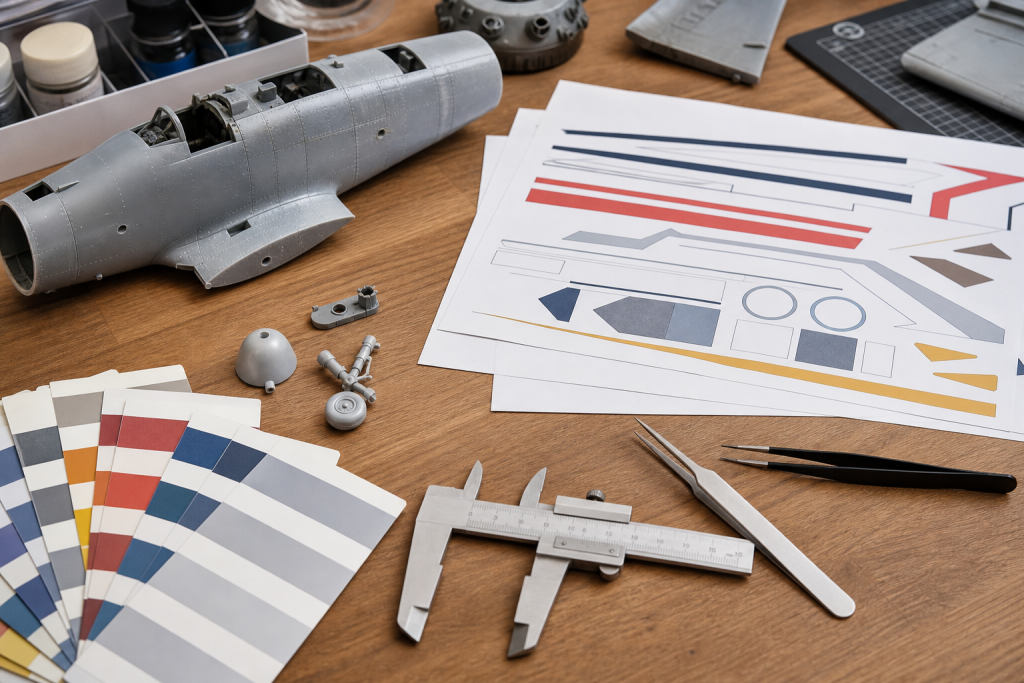
A clean order saves a round of revisions and helps the supplier return an accurate quote on the first pass. A few tips on what to have ready before you buy:
Reference material: period photographs, official markings documentation, color profiles, and a note on the kit and scale.
Artwork: vector formats (.AI, .EPS, .SVG, .CDR, or a print-ready PDF) are preferred. Raster files at low resolution will not survive scaling.
Scale: stated as the kit scale (1/72, 1/48, 1/32, etc.), not a measurement.
Color references: Pantone, Federal Standard (FS) numbers, or model-paint codes the supplier can match against.
Format: waterslide or dry transfer, with a note on the surface (NMF, matte camouflage, gloss).
Quantity: a single sheet, a spare, or a small run for a club build.
If a builder lacks vector artwork, most custom suppliers offer a paid design service that uses the reference material to create print-ready files. Asking for a written quote up front, with the design hours itemized separately from the per-sheet print cost, helps ensure there are no surprises at the proof stage.
Printable pre-order checklist
Copy this list into your order email or attach it as a separate document. A complete brief shortens the back-and-forth before the proof.
[ ] Subject: aircraft type, variant, specific airframe (tail number, serial, name)
[ ] Kit and scale: manufacturer, kit number, scale (1/72, 1/48, 1/32, etc.)
[ ] Format: waterslide or dry transfer; note the target surface (NMF, matte camo, gloss)
[ ] Artwork: vector file (.AI / .EPS / .SVG / .CDR / print-ready PDF) or reference photographs for the supplier to vectorize
[ ] White-ink layer: flagged in the file as a separate spot-color layer if any markings sit on dark paint
[ ] Color references: Pantone, FS numbers, or model-paint codes for each color
[ ] Quantity: single sheet, spare, or small run
[ ] Deadline: desired in-hand date, with a buffer for proof revisions
[ ] Shipping address and any customs notes for international orders
[ ] Proof preference: PDF proof, printed proof, or both
Applying Custom Decals to Scale Aircraft: Getting a Perfect Result
For waterslide decals, the sequence is predictable and rewards patience:
- Apply a gloss coat over the area to be decaled. This is the single biggest factor in preventing silvering.
- Trim close to the printed area to reduce the visible film footprint.
- Soak the decal in lukewarm water for 15–30 seconds, until it slides freely on the backing.
- Slide it onto the model with a soft brush and position it.
- Blot excess water from the centre outward to expel air.
- Apply a setting solution (Micro Sol, Mr. Mark Softer, Solvaset). The decal will wrinkle as the film softens. Leave it alone.
- Let it cure for at least 24 hours before clear-coating.
For dry transfers, the procedure is mechanical: position the carrier sheet, burnish the design firmly with a stylus over the full area, and peel the carrier away. No water, no gloss coat, no setting solution.
Common Mistakes That Ruin Custom Decals (and How to Avoid Them)
A few errors account for most failures:
Decaling onto matte paint. The carrier film traps air against the texture and silvers around the marking. Always gloss-coat first.
Skipping setting solution. The decal sits on top of the surface and lifts at the edges.
Pulling the decal off the backing too early. It tears.
Touching the decal while the setting solution is active. The softened film distorts or shreds.
Clear-coating before full cure. Trapped solvents cause hazing or wrinkling.
Ordering without confirming scale. Decals print correctly to the file specification, not to an implied intent.
None of these are unusual. They are the failure modes most builders encounter once or twice before adjusting their process.
Are Custom Decals Worth It vs. Aftermarket Sheets?
It depends on whether a usable sheet already exists.
Choose an aftermarket sheet when a commercial run covers the exact subject and the printing quality meets the build’s standard. This is often the most economical and best-researched option for popular airframes. Choose custom when the marking does not exist anywhere on a production sheet, when a precise color or proportion correction is needed, or when the subject is a specific personal or historical aircraft no manufacturer has produced. Cost depends on artwork complexity, sheet size, white-ink coverage, and any design hours billed by the supplier; published rate cards from custom shops are the most reliable source for current pricing rather than any general figure quoted in an article. The alternative, living with the wrong markings or stitching elements together from multiple sheets, has its own costs in time and accuracy.
Where to Order Custom Scale Model Aircraft Decals
A few questions to answer about any supplier before committing:
Familiarity with model scales and the resolution each scale demands
Both waterslide and dry transfer options, so format matches the surface
Willingness to work from reference photographs, not just finished artwork
Clear communication on color matching, white-ink handling, and proofing
Reasonable minimum quantities for single-build projects
Dry transfer specialists are a small subset of the custom market. For bare metal finishes, cockpit stencils and any application where carrier film would be visible at scale, that specialism is worth seeking out. It is one of the areas where format choice has the most visible payoff.
If you’d like to check print and transfer quality before placing an order, you can request a free sample. When you’re ready to place an order, you can do that directly at Dry Transfer Letters.
For a more technical breakdown, continue below.
Scale Model Aircraft Decals: Aftermarket Brands vs. Custom Print Services
Aftermarket sheets handle high-volume, well-documented subjects; custom services handle the rest. The split is driven by print economics, not capability. Together the two cover almost every accuracy demand in scale aircraft modeling, but the dividing line is sharp once subject availability is settled.
What the established houses actually do
Established aftermarket decal manufacturers typically commission their sheets through specialist commercial printing houses rather than printing in-house. These houses use silk-screen printing and offset lithography, with each color pressed through a fine mesh or transferred from an etched plate, producing heavily pigmented, opaque inks and very thin, selectively applied carrier film. Published capabilities from these printing houses include stochastic (FM) screening for photographic gradients, hot-foil metallics and tight registration, which is the technical reason high-end aftermarket sheets command the prices they do (Cartograf).
Where the gap opens for everything else
| Production model | Strength | Trade-off |
|---|---|---|
| Aftermarket (screen/offset) | Edge sharpness, opacity, deep research | Fixed subject list, no single-copy runs |
| Custom digital | Any subject, any quantity, white ink | Slightly less microscopic edge fidelity than screen |
| In-house design + custom print | Translates reference photos to artwork | Adds design-hour cost to the sheet |
Custom Model Airplane Decals: From RC Aircraft to Display Models
Display builds: thinness above everything
Flying models: durability changes the brief
RC markings face an entirely different environment: vibration, sustained UV, high-velocity airflow, and (for nitro-powered airframes) fuel and exhaust residue that strips standard waterslide decals quickly. Custom RC suppliers typically print on thicker, chemically sealed waterslide stock, or skip waterslide entirely in favor of die-cut adhesive vinyl, often produced from vector files on plotter-style cutters like the Silhouette Cameo (The RC Geek). The artwork workflow looks similar to plastic-kit ordering; the substrate selection does not.
Diecast, resin and scratch-built
Waterslide Decal Printing for Scale Aircraft: How the Production Process Works
Silk-screen printing
Offset lithography and stochastic screening
Digital presses and the role of spot white
Custom services typically use multi-pass digital printers. White ink is laid down first as a base layer because CMYK inks alone are translucent and would disappear against dark camouflage. Selective white printing is the technical requirement that distinguishes a true custom press from a desktop inkjet (Mimaki USA). The white layer is defined in the artwork file as a separate spot color, typically a dedicated layer flagged for the printer’s RIP, so the operator knows exactly where to deposit opaque pigment.
| Method | Best for | Limit |
|---|---|---|
| Silk-screen | Opaque flat colors, fine line work | Slow setup; not economical for single sheets |
| Offset lithography | Photographic detail, gradients | Same setup constraint |
| Digital with spot white | Single-copy custom runs, any subject | Slightly softer edges at extreme small sizes |
Model Aircraft Decals at 1/48 and 1/72 Scale: Resolution, Registration, and Detail
Registration
Resolution and line weight
Why opacity matters more than it looks
White opacity is not optional for markings printed over dark paint. Roundel white rings, USAF stars, “REMOVE BEFORE FLIGHT” tags and serial numbers on dark fuselages all require a white base under the CMYK pass. A sheet that omits white ink will silver visually even if the carrier film is perfect (Mimaki USA).
How to test a supplier
Dry Transfer Markings for Scale Model Aircraft: The Overlooked Alternative
The silvering problem disappears
No gloss undercoat required
A natural fit for cockpit interiors
Trade-offs to plan for
| Application | Typical best format |
|---|---|
| Bare metal finish, large markings | Dry transfer |
| Cockpit stencils and data plates | Dry transfer |
| Wrap-around roundels on curved surfaces | Waterslide |
| Multi-color nose art with gradients | Waterslide (screen or offset) |
| RC airframe with fuel exposure | Custom-cut adhesive vinyl |
Military Aircraft Models and the Case for Custom Markings
Nose art and one-off WWII airframes
The thin coverage of post-WWII jets
“Low-viz” markings on contemporary tactical aircraft are intentionally subtle: greys on greys, often only a shade or two apart. Custom printing allows the CMYK values in the artwork to be adjusted to contrast correctly with the specific paint the builder is using, rather than relying on the generic shade a mass-market sheet assumes.
Matching greys on modern tactical paint
Military subjects generate most of the demand for custom aircraft markings, and the reasons are specific to the source material.
Custom Model Decals for Scale Aircraft FAQ
Silvering happens when air is trapped between the decal film and the paint, almost always because the surface was not glossy enough before application. Apply a clear gloss coat (Future floor polish, Tamiya clear gloss, Alclad Aqua Gloss or similar) over the area and let it cure fully. Soak the trimmed decal in lukewarm water for 15–30 seconds until it slides freely, position it on the glossed surface with a soft brush, blot excess water from the centre outward, and apply a setting solution such as Micro Sol or Mr. Mark Softer to conform the film into panel lines. Leave the decal completely undisturbed while the solvent works. Once fully cured, seal with another gloss coat before any matte or weathering pass.
Waterslide decals are printed on a thin film backed by water-soluble adhesive and a carrier paper; once soaked, the film floats off the paper onto a glossed surface and is conformed with a setting solution. Dry transfer decals carry no film. The design is printed on a release sheet and burnished directly onto the model with a stylus, leaving only ink on the surface (Dry Transfer Letters). Dry transfers will not silver, do not require a gloss coat or setting solution, and produce a true painted-on appearance, which suits bare metal finishes, cockpit stencils and data plates. The trade-off is that they cannot be repositioned once burnishing starts.
Several types of suppliers serve scale aircraft modelers at 1/48 and 1/72: specialist custom-print shops that work directly with individual builders, and the custom divisions of larger aftermarket manufacturers, which tend to carry higher minimum order sizes geared toward club runs and resin kit makers rather than single sheets. Capabilities, minimums and turnaround vary widely between suppliers, so selection should weigh whether the supplier can print true opaque white, how they handle proofs, and whether they accept reference photographs or only finished artwork, confirmed against each supplier’s own current information rather than third-party summaries. For builds where a film-free finish matters, including natural metal aircraft, cockpit stencils, and anti-glare panels, dry transfer specialists are a separate, smaller category worth considering alongside waterslide vendors, since the film-free format removes silvering risk entirely on those surfaces.
In 1/48 WWII and military subjects, aftermarket sheets printed through high-end commercial printing houses are typically the most respected for research depth and decal quality, since those presses can hold the registration and opacity that thinner, more affordable runs sometimes miss. For 3D cockpit interiors, pre-painted resin instrument panels and seatbelts are a separate aftermarket category that some builders use instead of, or alongside, flat decals. Which option is “best” depends mainly on subject availability: if the airframe is covered by an existing sheet from a manufacturer that uses high-quality printing, that’s usually the strongest starting point; if it isn’t, a custom order is the only route to an accurate marking.
Yes, but the material specifications differ substantially. Static plastic kit decals prioritize the thinnest possible film so the marking beds into panel lines and rivets without leaving a visible step. RC aircraft markings face vibration, sustained UV, airflow stress and (for nitro engines) fuel and exhaust contact, so custom RC work usually uses thicker, chemically sealed waterslide stock or die-cut adhesive vinyl produced on plotters such as the Silhouette Cameo (The RC Geek). Most custom suppliers handle both, but expect different substrate options and pricing for each.
Apply the decal over a fully cured gloss coat, slide it into position, and blot excess water gently. Then apply a setting solution such as Micro Sol, Mr. Mark Softer or Solvaset with a soft brush. The solvent softens the carrier film so capillary action pulls it down into recessed panel lines and tightly over raised rivets. The decal will wrinkle as the film softens. Leave it alone. Once the solvent has fully evaporated and the decal is dry, seal the edges with another light gloss coat to prevent later weathering washes from creeping under the film.
Supply artwork in a vector format: Adobe Illustrator (.AI), Encapsulated PostScript (.EPS), Scalable Vector Graphics (.SVG), CorelDRAW (.CDR), or a print-ready PDF. Vector files scale without losing edge sharpness, which raster JPEGs and screen-resolution PNGs do not. Define a separate spot-color layer for any white-ink areas so the press knows where to lay an opaque base under CMYK colors, a step required for any marking that will sit on dark paint. Provide color references using Pantone numbers, Federal Standard (FS) codes, or specific model-paint codes the supplier can match against. State the scale as the kit scale (1/72, 1/48, 1/32) rather than as a measurement. If reference material is photographs rather than finished artwork, most custom suppliers offer a paid design service to vectorize it before printing.
When you’re ready to place your order, you can do that directly at Dry Transfer Letters.
How This Article Was Created
This guide was developed using technical information from established decal manufacturers, custom printing services, and scale-modeling resources. It covers artwork preparation, scale accuracy, white-ink requirements, production methods, and practical application techniques for waterslide and dry transfer decals.
AI-assisted tools were used for organization and editing, while the content was reviewed for accuracy, clarity, and usefulness.
Dry Transfer Letters creates custom dry transfer markings for detailed scale-model applications.
